Operating Instructions for the Self-Opening Die Head Rubometric Type D Sizes DS 5/16″ - D 11/4″
Setting up the Die Head
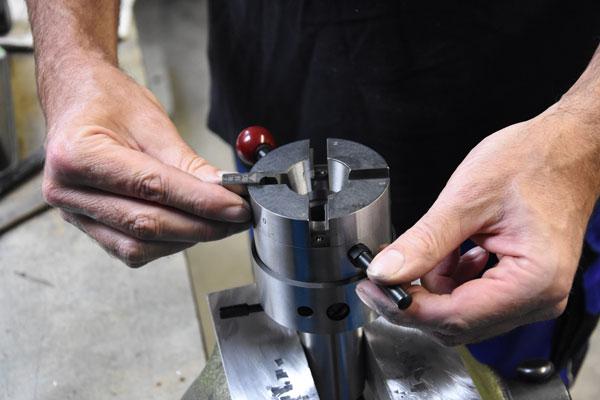
1. The die head is opened by pulling back the switching lever in the back
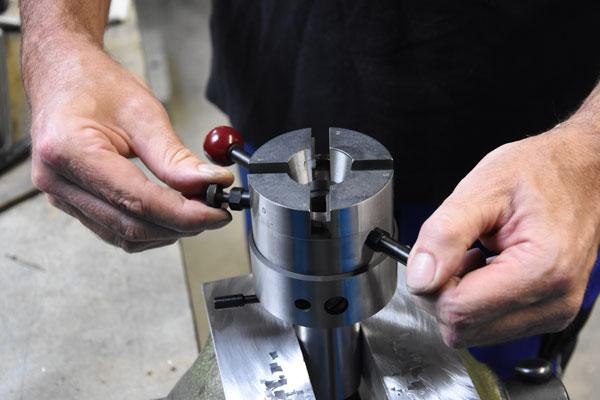
2. Pulling back the plunger pin on top of the die head will rotate the cam into open position
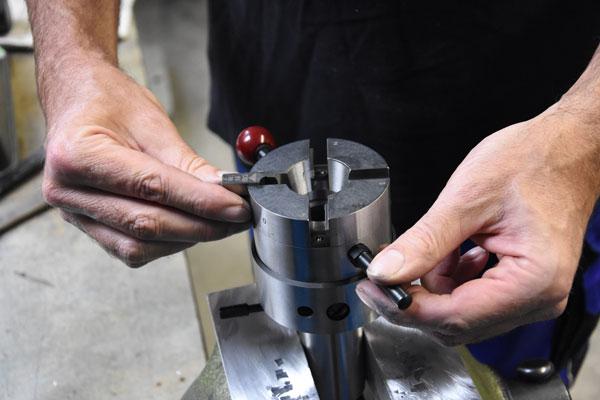
3. The chasers must be inserted in such a way that the number on the chasers corresponds to the number of the slot in the die head
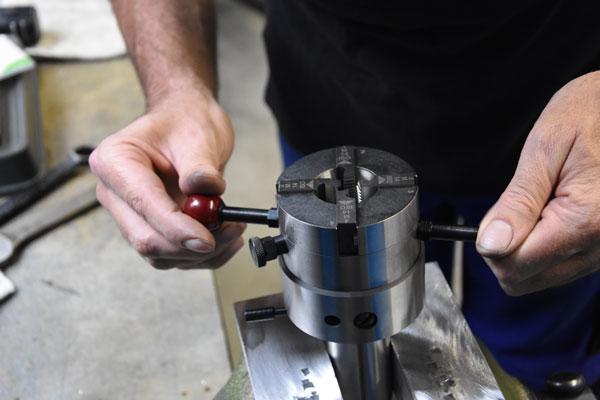
4. The die head is closed by turning the cam counter-clockwise by means of the closing handle
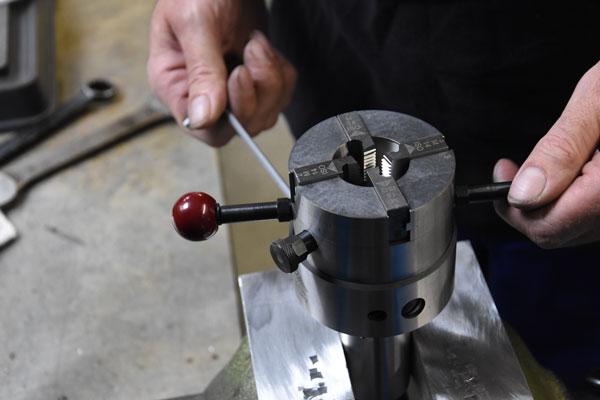
5. The adjusting screw is used to set chasers to thread cutting size
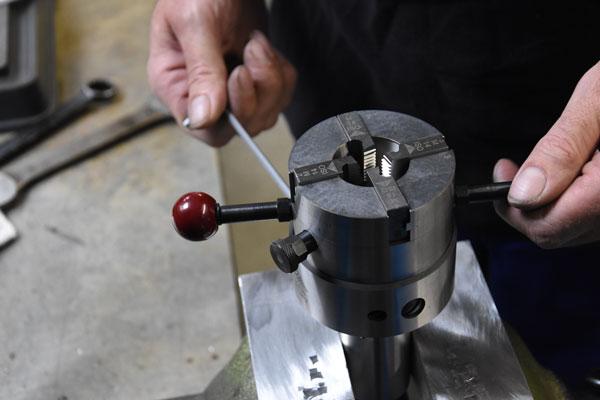
6. A setting gauge may be used for precise die head adjustment
Setting up the Machine
The stop for tripping the die head is set in accordance with the desired thread length in the following way: Advance the die in open position over the bolt to be cut; the front edge of the chaser must be even with the end of the thread to be cut minus the "advance" of the die head after it has been tripped. This "advance" varies with the different heads as follows:
| Size 2 = DS 5/16″ | about 3 mm |
| Size 3 = D 9/16″ | about 4 mm |
| Size 4 = DS 3/4″ | about 4,5 mm |
| Size 5 = D 1″ | about 4,5 mm |
| Size 6 = D 1 1/4″ | about 5,5 mm |
The die head trips automatically if its forward movement is interrupted by hitting the stop.
For shoulder threading the stop must be set exactly, so that the chasers will not ram into the shoulder, which would make it difficult for the die head to open. This could also damage the chasers and the workpiece. If possible, an undercut should be made between the end of the thread and the shoulder, so that the threaded piece can be screwed right up to the shoulder.
Operation of the Die Head
The cutting action is started by moving the die head in closed position, by hand or mechanically, to the workpiece until the cut is started. By touching the stop the automatic forward motion of the die head is interrupted. The chasers still pull the front of the die head for the small "advance" distances listed above, until the locking bolt disengages. The die head now opens automatically; the chasers release the work. Without any loss of time, the die head can be withdrawn over the cut thread and reset.
Roughing and Finishing Cuts
Thread above 12 TPI are best produced in two cuts, a roughing cut and a finishing cut. For the roughing cut the switching lever must be set to the + side of the scale, and for the finishing cut to the - side of the scale.
Exact Adjusting of the Thread Diameter
The zero line of the scale represents the basic dimension. By moving the opposed socket head set screws, the desired thread size is obtained. Each line of the graduated scale correspondents to about 0,006" (0,15 mm) in diameter.
| Oversize: | Release the socket head set screw on the -side to the desired diameter. Then tighten the socket head set screw on the + side. |
| Undersize: | Loosen the socket head set screw on the + side and tighten the socket head set screw on the - side to the desired diameter. Then tighten the socket head set screw on the + side. |
Cutting Speed
Each time the die head and chasers are used, they should be cleaned and oiled. There should not be any tension on the die head when it is stored and, therefore, it should be stored in "open" position.
Disassembling and Assembling the Die Head
Hold the die head in a vise, as illustrated in pictures 1 and 2. Open and release the die head. Remove chasers as in picture 3.
Remove the screws from the adjusting ring. The front of the die head can now be removed by means of the two handles. It is necessary to mark the position of the front part and the other individual parts for re-assembling.
The shank is exchanged in the same way; however, careful attention must be given to the position of the locking bolt in relation to the front of the die head.
Please use the Operating Instructions for exact figures and tables:

